-40%
XH-M601~M604 12V/24V 6-60V Battery Charging Control Switch Charger Power Supply
$ 2.39
- Description
- Size Guide
Description
HomeElectronic Component
Chips
Sensor
Arduino Module
Raspberry Pi
XH-M601~M604 12V/24V 6-60V Battery Charging Control Switch Charger Power Supply
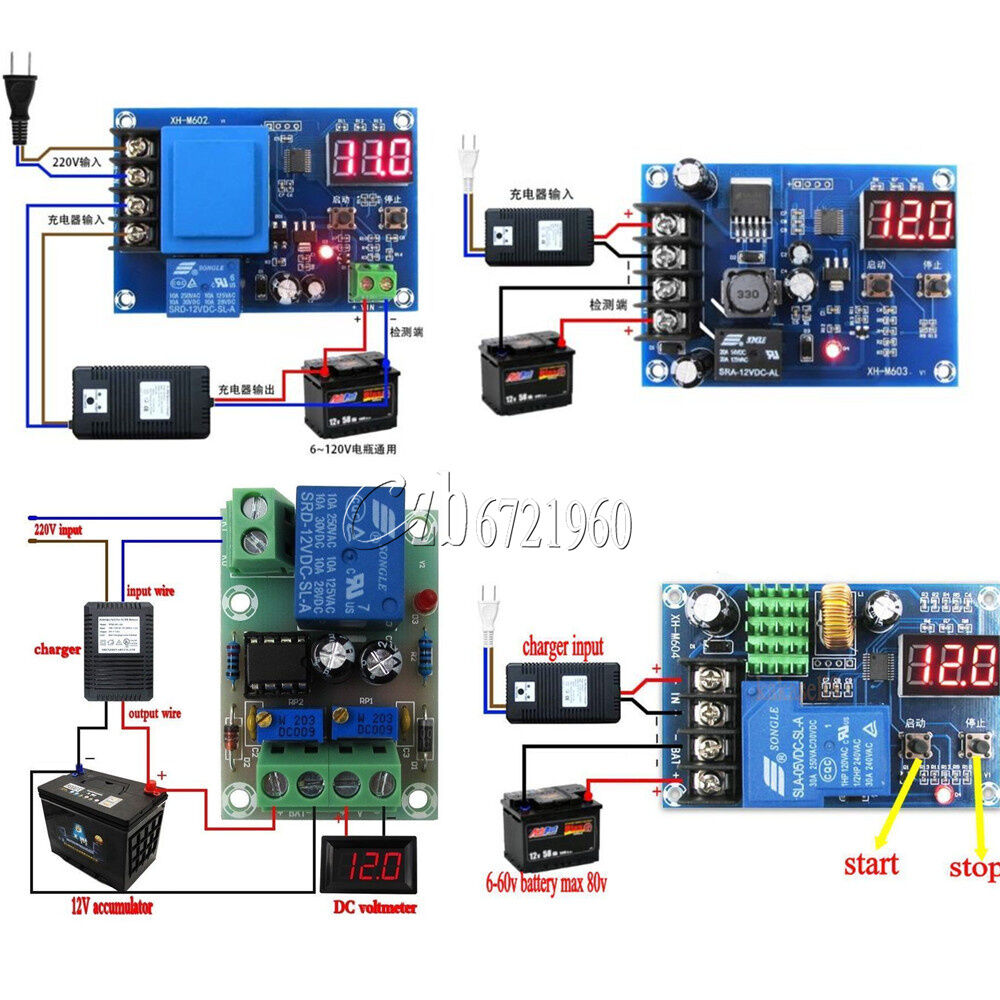
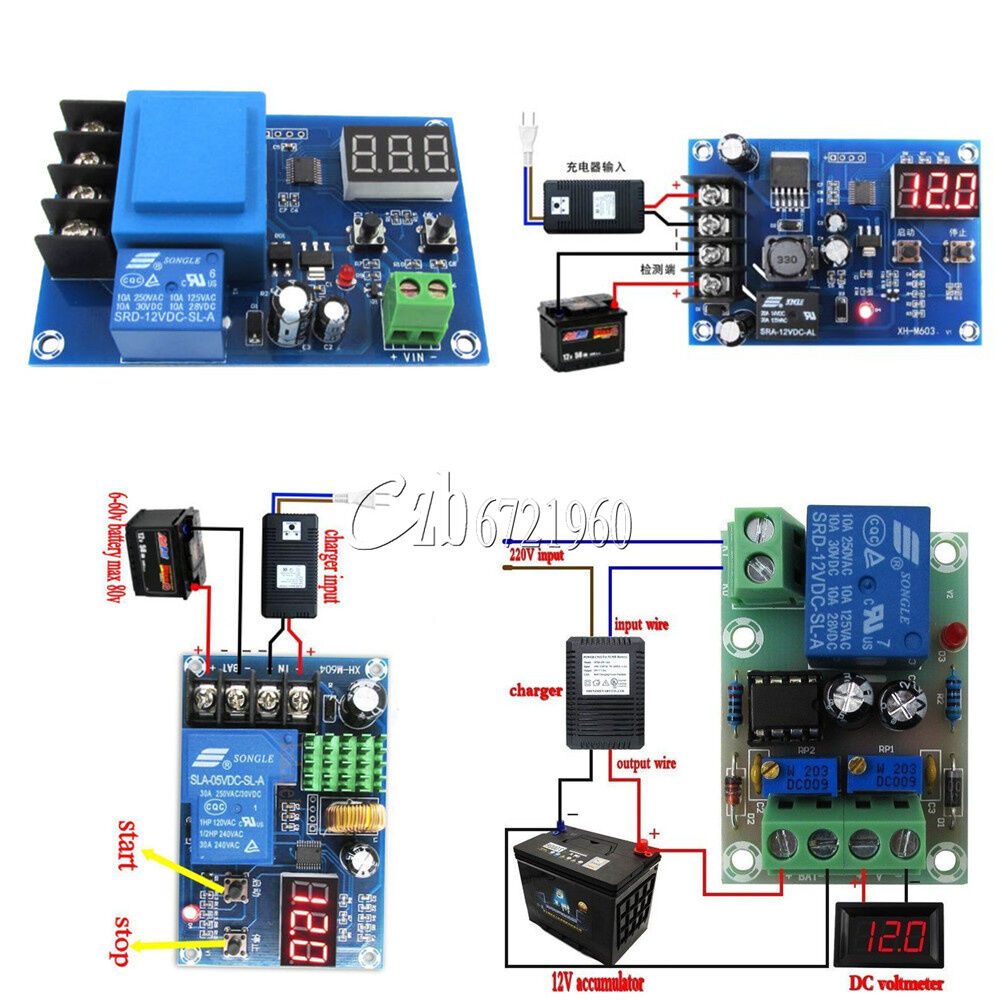
1.XH-M601 Battery Charging Control Board 12V
Product Introduction:
1.Name:12V charger power control board
2.Model:XH-M601
3.Power Supply Voltage:13.8-14.8V
4.Relay Operating Voltage:12.4V
5.Relay Disconnect Voltage:14.8V
6.Voltage Tolerance:+/-0.1V
7.Voltage Detection Way:DC voltmeter
8.Charging Type:12V storage battery
9.Potentiometer Adjustment:RP1 RP2
10.Size:50*32*18mm
Potentiometer Adjustment:
1.RP1:adjust storage battery start charging voltage (low voltage setting:clockwise becomes higher,counter-clockwise becomes lower)
2.RP2:adjust storage battery disconnect charging voltage (low voltage setting:clockwise becomes higher,counter-clockwise becomes lower)
2. XH-M602 Control Battery Charging Control Module AC 220V
Product Introduction:
1.Name:numerical control battery charging control module
2.Model:XH-M602
3.Input Voltage:AC 220V
4.Display Precision:0.1V
5.Control Precision:0.1V
6.Output Type:output switch
7.Voltage Tolerance:+/-0.1V
8.Application Fields:for 3.7-120V lithium battery or storage battery
9.Size:86*58*24mm
3.XH-M603 Charging Control Module 12-24V
Product Introduction:
1.Model:XH-M603
2.Input Voltage:DC 10-30V
3.Display Precision:0.1V
4.Control Precision:0.1V
5.Output Type:direct output
6.Voltage Tolerance:+/-0.1V
7.Application Fields:12-24V storage battery
8.Size;82*58*18mm
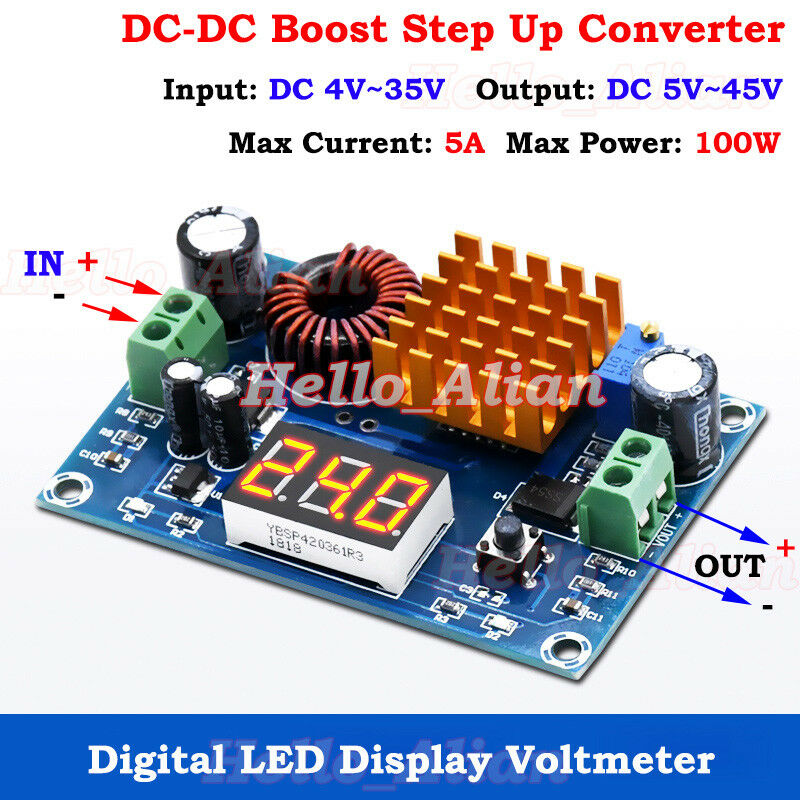
4.XH-M604 Battery Charger Control Module DC 6-60V
Product Introduction:
1.Name:numerical control battery charging control module
2.Model:XH-M604
3.Input Voltage:DC 6-60V (max 80V)
4.Display Precision:0.1V
5.Control Precision:0.1V
6.Output Type:direct output
7.Voltage Tolerance:+/-0.1V
8.Application Fields:6-60V storage battery
9.Size:81*54*18mm
Using Method:
1.Set Starting Voltage:in normal display voltage state,press the button will display start charging voltage;long press for 3s the digital tube will flash;you can start or stop button to set starting up charge voltage value
2.Set Stop Voltage:in normal display voltage state,press the button will display stoping charge voltage;long press the button for 3s the digital tube will flash;you can start or stop button to set stoping charge voltage value
3.Factory Reset:in power on state press the start/stop button at the same time,digital tube will display 888;that represents factory reset settings
Package Include:
1PCS
Payment
Shipping
Refund
Payment
We accept PayPal only.
But we only
Accept
your
Ebay Address
,Please Make sure it's 100% right.
Payment must be received in 5 business days of auction closing.
Please leave note for your special request (e.g. Colors or Size) in PayPal when you pay the order.
Any special request cannot be accepted after 24 hours of payment, because most of orders will be processed instantly and same day dispatched.
Shipping
We maintain high standards of excellence and strive for 100% customer satisfaction! Feedback is very important to us. We request that you contact us immediately BEFORE you give us neutral or negative feedback, so that we can satisfactorily address your concerns.
Refund
All package need to
wait 30 days
(US only n
eed 7-10 days)
,
Please take care it.Less than 30 days,we can't take a refund
.
If the item is defect when you receive it or you are not satisfied with it, please return it within 14 days for a replacement or money back. But the items must be back in factory condition. Please contact us and double check the return address before you return it.
If is item is defective in 12 months, you can return it to us. We will send you a new replacement after receiving the defective item.
